Wednesday, April 16, 2008

12 st Patterns on 24 st Punchcard Blanks

This question is popping up quite a bit lately so I thought I'd go ahead and share this on the blog. Click on the picture for a larger, legible version of the punchcard. When using a 24 stitch blank card for a bulky 12 stitch punchcard pattern, you skip the column between punched columns. This will work on the 12 stitch punchcard BULKY machines. The older Toyota 12 stitch 4.5mm standard gauge punchcard machines like the KS858, require punchcards made specifically for them. The spacing for the punches is different and the 12 stitch cards made for them are not interchangeable with 12 stitch cards for the bulky machines. If you are having trouble with 12 stitch blanks, hold a card up to a 24 stitch card and see if the holes line up. If they are off, then you have the wrong blanks for your machine, the right cards will line up with every other punch space on the 24 stitch card.

I will have both types of machines and figuring out which card will work with which machine could get tricky so I am only buying 4.5mm gauge 12 stitch blanks for my KS858 and will be using the 24 stitch blanks for my 12 stitch bulky. This should help me keep them straight :)

Easier still would be if I just had all 24 stitch punchcard machines, or better yet, electronic patterning machines in both pitches, but then, what would be the challenge with that LOL!!

Labels: ,

Tuesday, April 15, 2008

Ladder Eyelet Join

Ok, here's a mini video showing a variation on the traditional eyelet join for connecting knitted panels. This "Ladder Eyelet" (http://www.dimitysdrygoods.com/ click on Techniques on the left hand menu and then click on Strip Tease Knitting) is accomplished with using inside stitches through the eyelets which gives it a laced up affect instead of pulling the edge stitches through the eyelets, which creates a more Braided looking join. This technique has shown up in several magazine articles and books by several different authors and they all appear to have their own copyrights. I'm just showing how it's done and I have not refered to any books or articles other than the above mentioned website and a discussion based on a photo from an ebay auction. I hope that's enough disclaimer to keep me out of trouble :) I'm not claiming anything other than I know how to do it.

I used stitches 3 and 4 from the edge in this video to pull through the eyelet but you can use stitches 2 and 3 or any other stitches further in. The further in you go, the larger overlap of loose edge you will have. I sure hope that makes sense :)

Labels: , ,

Friday, April 04, 2008

Back Stitch Bind Off/Seaming with Latch Tool

Poor quality but I think it shows enough so you get what I'm doing :)

Labels: ,

Thursday, July 26, 2007

Black Tilt Stand and Beige Non-Tilt Stand Instructions

Above is the instruction sheet for the black tilting knitting machine stands. Click on the picture to print it out in full size. I also have some pictures here of my Toyota KS950 and ribber on the tilt stand. I don't like to use my machine in the permanent tilted position like many folks do, so having the ability to set my machine flat when using just the main bed is important to me. I use my beige stand with my machines that I don't have the ribber attached too.

Here are the instructions for the non-tilt stand. Click on the photo and it will take you to a full sized picture so you can actually see it. The only difference in the assembly of this stand and the tilt stand is the shape of the lid holder bolts that hold it all together and there is no front or back for this type of stand like there is for the tilt stand. This is indicated by a sticky dot in the center of the top of the stand. If you're stand is missing the sticky dot, then if your bed tilts to the back instead of to the front when you have your machine on it, take it apart and put the bolts through it from the opposite side.

Hope this helps :)

Labels: ,

Tilt Stand Assembled

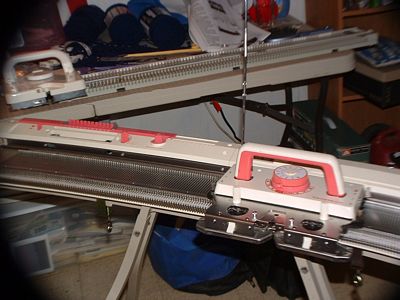
First, the stuff on the floor is because my new kitten has discovered my knitting room :) She loves it in here :) This is a view from the back looking down. You can see that the long lid holding hooky things slip through the holes after you insert the legs into the holders for them and the wing nuts hold them on. (it's probably easier to understand this if you have the stand in front of you). These dual function bolts act as the lid holder and the 2 bolts that hold the whole unit together.This view shows how the bolts go together and one of the L shaped levers that loosen and tighten up to allow the tilt of the bar. (There are 2, the second one just blended into the black color of the stand in the photo). If they are tight, keep working them until they comes loose. It's kind of startling when it first moves, but don't worry, it will hold itself together. This shot shows the position that I like to have it set in when I'm not using the ribber. You can see the angle of the bar on the end. When the flat part of the bar is parallel to the floor, the main bed of machine is at a slant and the ribber is moved more upwards so you can knit with it.

Another shot of the tilt in the bar. You use 4 clamps to hook your ribber and main bed machine to the stand. The S clamps are mounted to the bar and the main bed. My Toyota ribber has brackets that fold down from the back and they are clamped to the bar with the C clamps, but you will follow the instructions in the manual for your knitter and ribber to mount it to the set up stand.

Hope the helps :)

Labels: ,

Morse Duomatic Knitter


Labels:

Friday, May 18, 2007

LK140 and Roller Nubs

I took off the rollers on my needle nubs on the LK140 to use on my Super LK100 and interstingly, I guess because the needles are closer together or something, the LK140 carriage doesn't seem to have any trouble going over the rollerless needles. It doesn't feel like it's being chewed up or rubbed the wrong way at all. I think I will still want to use the rollers, just seems like the manufacturers wouldn't have bothered with them if they didn't serve an important purpose.

I just know there is someone out there who is sitting with their arms across their chest saying "I've been using my LK without the rollers for years and my carriage is fine!" Harumph!!! :) Guess this is my little disclosure, opinions on my blog are based on my own experiences. Your experiences may have resulted in different conclusions. How's that for some more mumbo jumbo LOL!!!

Labels: ,

Thursday, May 17, 2007

Extension of LK100 and LK/HK Carriage Compatabilities

The Super Sized LK100. There are 162 needles on this baby :)

To accomplish this feat, acquire 2 LK100 9mm plastic bed knitting machines. Remove the end pieces of one of the needlebeds by unscrewing the connecting plate underneath the machine.
with connecting plate

without connecing plate

Remove the connector plate in the center of the other needlebed and insert the extending needlebed between the 2 pieces that still have their ends attached. Rescrew the connecting plates, and viola! Super Sized LK100. You can then put the 2 end pieces together for super mini machine with 18 needles, perfect for grandkids and scarves.

Extending the HK100 - not sure if that is possible because the bed is held together with one long plate of steel instead of the smaller joining plates we have on the LK machines, so their isn't anyway to insert the extra sections. Unless you have a plasma cutter and want to cut that steel plate, then you might be able to make it work :)

HK100 underside metal plate

Using the HK100 carriage on the LK needlebeds - doesn't work. It fits, but the rollers are too large to go through the channel in the carriage. It comes to a dead stop. Now if you remove the rollers, the HK100 carriage works great, except for the row counter. The tripper on the carriage doesn't hit the counter right so you have to take it off to use the HK on the LK. The HK carriage has metal parts which makes me more comfortable using it without the rollers too. My LK carriages are all plastic and I've decided that is why they need the rollers on the needles, to prevent the needle butts from eating up the carriage.
HK100 carriage

LK140 carriage

LK100 carriage

Using the LK140/150/100 carriages on the HK100 needlebed - works, but there are no rollers on the HK100 needle butts so we get the chew up the plastic thing with that option. The rollers do not fit on the HK100 needle butts, so if you really wanted an 8mm machine that you could use the LK140/150 carriage on (those Russel levers are really really cool) you would have to exchange all the needles with the LK100 needles and rollers. I'm not going to do this so I can't say if this is possible or not, there is the issue of the sponge bar, the HK100 has an actual bar, the LK's just use foam strips. I'm beginning to feel a bit like Dr. Veektore Frankenstein here LOL!!
LK140 on HK100 Needlebed (not a good idea)

The LK100 and the LK140 carriages - both work beautifully on my extended LK100 needlebed. The only issue now is with the LK140 carriage not having it's own little yarn holder/springy/tensioning/thingy. The clip that holds the little bracket to the needlebed that holds the yarn tension mast doesn't have a matching slot on the LK100 needlebed. It's been suggested that if mounting the machine to a piece of wood, I can drill a hole and insert a mast from another machine to use. I believe that will work as long as I use a yarn mast for another bulky machine, like my Toyota KS610, so I can run the bulky yarn through it.
And...
I was missing some of the needle rollers so I tried alternating the needles, 1 with roller next to 1 without roller. That did not work out at all. My carriage was not happy, it was loud and noisy and I could tell it was miserable. Fortunately, the rollers on my LK140 also fit onto my LK100 needles so I am good to go there until my rollers arrive in the mail (the person I bought my second machine from has said she would send them to me).

End Result!

Now I believe I have a machine that it is wide enough to make a one panel afghan with the right yarn, and especially if I do a tuck stitch (gotta love those Russel levers LOL) which will make the fabric even wider. I also hope that 162 needles on a bulky 9mm machine will be plenty large enough to make super xxx plus sized fashions. I'll be sure to keep you all posted. I hope this answers the questions you all had on this matter, I know it answer's mine and I'm exhausted!

and since I never seem to know when to quit....

My next experiment with all this will be to test the gauge differences between the 2 different carriages when used on each others needlebeds. I.E. the LK140 carriage on the LK100 needlebed and visa-versa. I can't help but think it's got to be different.

Labels: ,

Tuesday, May 15, 2007

'Unique' Antique Knitting Machine


Unique is the brand of this little beauty. I think it's Japanese, hey, maybe that's where the patent is? Anyway, above are some close up photos. Lots of stuff going on in such a small piece of equipment :)

Labels:

more on the Unique

Needs a good cleaning though. This is the patent plate
The cam pushing out the rods with the needles extended. Obviously it won't knit stitches this way, this is the position of the needles when you lay the yarn into the latches, the side lever then pulls the needles back into the machine and when the cam is slid across the bed, the rods push the stitches over the yarn in the latches which creates the stitches.
The cast on comb. I wish I would have remembered this comb when I was having such a nightmare with the hook type of combs while making my lace curtains. I had always thought this machine was a fine gauge, the hooks seem so much smaller, but this comb fits on my 4.5mm machines so that settles that :)

Labels: ,

Wednesday, March 14, 2007

Knitting Room or Room for Knitting :)

I am often asked about where I keep my machines so I thought I'd go ahead and show the world my knitting room. It's always in the process of being improved. E.J. put up the ceiling shelves this last weekend for me so things are still in a bit of disarray, but I'm one of those slobs that needs her clutter all around her. I guess there's some kind of psycho babel about what being a pack rat means, I just know it means that I am one happy lady surrounded by things I love :)
More shelves will go up on the wall in this corner so I can get the yarns still in boxes up on the wall.
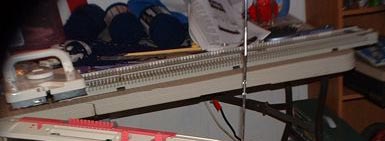
The White 1602 double bed is on a really great wood cabinet that I found at the Salvation Army thrift store. I think it was a handmade tv cabinet, you can't see it but there are shelves with doors on them underneath. It's packed with yarn too. The Toyota KS950 with the ribber is in front of it. When I want to use the White, I move the Toyota to the opposite wall in front of the chest of drawers. It just slides across the floor so it's easy to move.
That big sheet of plywood up against the wall is actually the underside of a twin bed platform. Yes, this room doubles as a guest bedroom. The machines get put in their boxes, the platform comes down and the machines fit nicely underneath the bed which is an airmattress laid on top of the platform. Works great. The legs of the bed hold a 6 foot shelf that right now has my LK140 and my Singer HK100 clamped to it. Mr. and Mrs. Bond reside here when they are out of their suitcase. The shelf slides forward when I'm using it and pushes back out of the way so I can use my Toyota KS610 which is behind the Toyota KS858. The 858 is slid in front of the chest of drawers (a right angle to where it's sitting now) when I want to use the 610 or the plastic bed machines. The plastic 3 drawer cart holds my punchcards and other crafting things like hot glue guns, laminating sheets etc. and the wood box on top of it is full of beads. This 5 shelf bookcase holds, well, books and patterns and the ceiling shelf sits on top. The tv is atop a plastic shelving unit and is next to the White 1602 cabinet. Oh, sitting under the window, between the bed platform and the bookcase is my cat's litter box. She loves this room too :)
Even the back of the door is used for yarn storage. The shoe pockets hold sock yarn and the slack hanger has yarn that has been wound on the winder, slipped onto an empty toilet paper roll, label taped inside the roll and slid onto the rod. It reminds me of the ribbon stands in a gift wrap section of the department stores and I'm kind of proud of thinking to repurpose the hanger this way. Who wears slacks anymore anyway? LOL!


and this wall is my sewing area. It's going to get more shelving added to the right side of it for more storage of fabric too. the machine is on top of a 1940's metal desk. When I get this area organized I'll have to share pictures of it too. Right now, it's an embarrasing mess of stuff waiting for it's home to be put together.

And this is where I live :) Kind of chaotic for most, but suits me to a T.

Labels: ,

Tuesday, March 13, 2007

Ain't she cute!

I just came across a machine that I had packed away and forgotten all about. I don't know the brand, but here's a picture.

Her feet are the crank to turn the needles and the thread goes through a hole in the back of her head. I'm not sure how I came upon this one, probably an Ebay find years and years ago, but it works great. That's a Lustersheen cord she is "laying" for lack of a better word as the tube comes out between her little legs. Too funny! Dig those sandals and talk about a wink and a smile. ;)

Labels:

Saturday, January 20, 2007

Brother HK840 and Knitting Stand Improvision


One of the geniouses at the Knitting Machine Yahoo Group suggested a knitting stand made from this type of saw horse and bolting a piece of wood for a table top to it. I didn't have access to anything that I could attach a top with, so instead, I cut a piece of 1x3 poplar to fit in the underside of the saw horse for the clamps to clamp onto. It works GREAT!!!! The saw horse legs are adjustable in height and also fold in on them selves to take down. I believe it would be very simple to close up the machine, put on it's lid, fold in the legs and slide it under the bed (or couch) if I was to put it away. Too Cool, I just love those raging inventive crafty genes out there in cyberspace! Oh, and it only cost 19.95 for the saw horse and 2.75 for the piece of wood. What a deal!

The machine is my Brother HK840, it's a 24stitch punchcard machine that I have had for years, but didn't have the time to learn how to use. It's been sitting in storage in California, so while I was there caring for my mother, I was able to clean it up and it works great. I also have an HK820, I cleaned it up too, but although it knit fine, the punchcard mechanism refused to select the needles. We'll have to save that project for another trip.

Labels:

Saturday, December 02, 2006

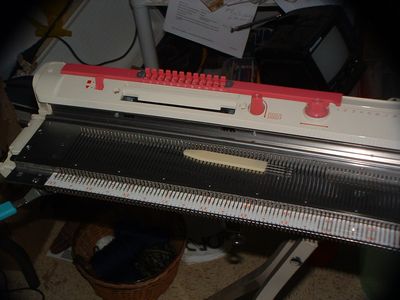
Toyota KS950


This is my new baby, New - Never been out of the box till now, Toyota KS950 and she is beautiful! My KR505 ribber works with her too, so I can shift ribbers back and forth between the KS858 and the KS950. I'm just learning how to use her, I like the 24st punchcards because I can do larger pictures, but I can see that I will still keep my KS858 up too. I like the 12st cards, plus I have the push button options with the older machine.

The Motif Magic is cool, it allows me to isolate my design instead of having to be knitted all over the fabric. I can dot it around or have one in the center or have it repeat all over, it's my choice :) I like that!

Labels:

Tuesday, September 12, 2006

Silver Reed LK140

The LK140 arrived today :) I am going to have fun with this one. I didn't realize that it had carriage levers to facilitate fair isle and other patterned knit stitches. I thought it was a basic machine like the Singer LK and HK100's, just a different pitch. The LK100 is a 9mm, the HK100 is an 8mm and this LK140 is a 6.5mm. I believe the only difference between this machine and the LK150 is the number of needles and it's a newer model. The newer 150 has 150 needles and the older 140 has 140 needles, hence the names? I'm looking forward to using the more available Bernat and Caron softee baby type yarns on this one. Even though the bulky machines can knit it, I've never really liked the gauge of the fabric when I used those yarns for baby outfits. I'll put a picture of a swatch up when I do one tonight. I have to finish the baby overalls I'm knitting on the Toyota first. Yes, I have self discipline, right! LOL!!! Actually I made a new sponge strip for it and I have to wait for the glue to cure overnight on the ribbon before I try it out.

Labels: ,

Brother Profile 588

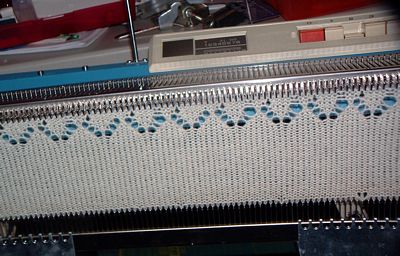
The Brother Profile 588 is an 8 button pattern machine. You push the patterns, yank the crank to set the needles and run the carriage, the lace carriage miraculously transfers the stitches to different needles if you're making lace. I have a huge book of stitch patterns for it, the picture is my first lace attempt. I made a mistake, see the extra large hole? so I frogged it. I want to play with it some more, those patterns in the book are great and I think I will be able to adapt alot of them to the Toyota. It's really old, so old that some of the plastic knob things crumbled. They will be replaced, with polymer clay I think, but the mechanism that the knob slid still slides if you just move it with your hand so it's no big deal.

I bought this machine because I have all the tutorials, several books and patterns that my wonderful Mother in Law salvaged for me. I'll experiment more with it soon, but the punch cards are alot easier to use than the buttons.

Labels:

Monday, September 11, 2006

White 1602


This is my White 1602. It's the same as the Superba machines and I have so much to learn from this baby. Because I didn't know anything about how to use this particular machine, I left all the goodies that came with it in storage in California. What a fool I was! It's an electronic patterning system and I can't wait to learn how to use it ( I bought this for a very cheap price on ebay about 4 years ago so I can only hope the electronics work). I've been experimenting with the racking feature and there are some very lovely stitch patterns that can be accomplished. Apparently there is a cassette taped instruction set, I believe I got everything for this machine except the cassette tapes so I have been depending on the gracious folks online and a basic manual to help me learn the machine.


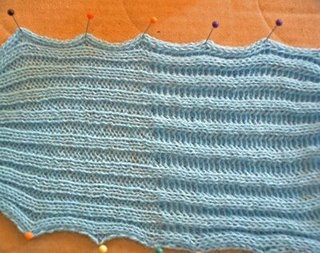
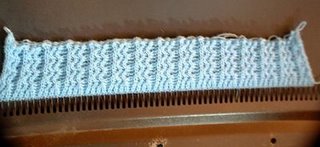
My first racking pattern success, 2x2 rib to a Double Fisherman Rib.

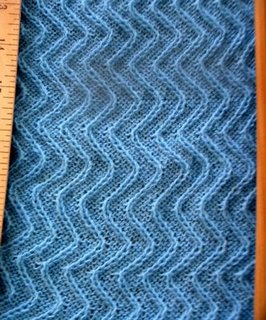
Here are a couple more. I'm not sure what you would call this one, but I like it and the one below was a boo-boo. It was supposed to have the straight line between the wavey lines, oh well, I was still really pleased that I could do it at all.

Labels:

Toyota KS 858


Yes, my knitting room is a mess... I've been re-organizing.. that's my story and I'm sticking to it. Anyway, I've ordered a couple of punch card design books for fairisle that contain designs for both 12 stitch and 24 stitch machines. (2 of my Brother machines take 24 stitch cards). I'm on the hunt for the lace carriage to go with this machine (I'm hoping to do business with Gladys Goody when she "migrates south" for the winter).

I love this machine, to date it is my favorite. There is just something about the way the carriage glides across the needle bed. I can't really describe it other than it just feels good and solid and oh so right. The push buttons are fun for small pieces, I get slipped up when I try to do more than a couple of feet of patterned fabric. You have to reset the buttons on every row, yank the needle set lever, then run the carriage and I seem to loose my place on the pattern. With the punch cards it's the same process but the cards take the place of pushing the buttons and since the holes are already in order as the card feeds, all I have to remember to do is yank the set lever before I run the carriage :)
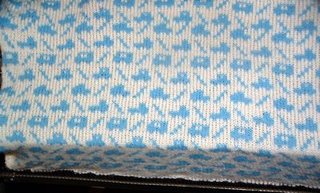
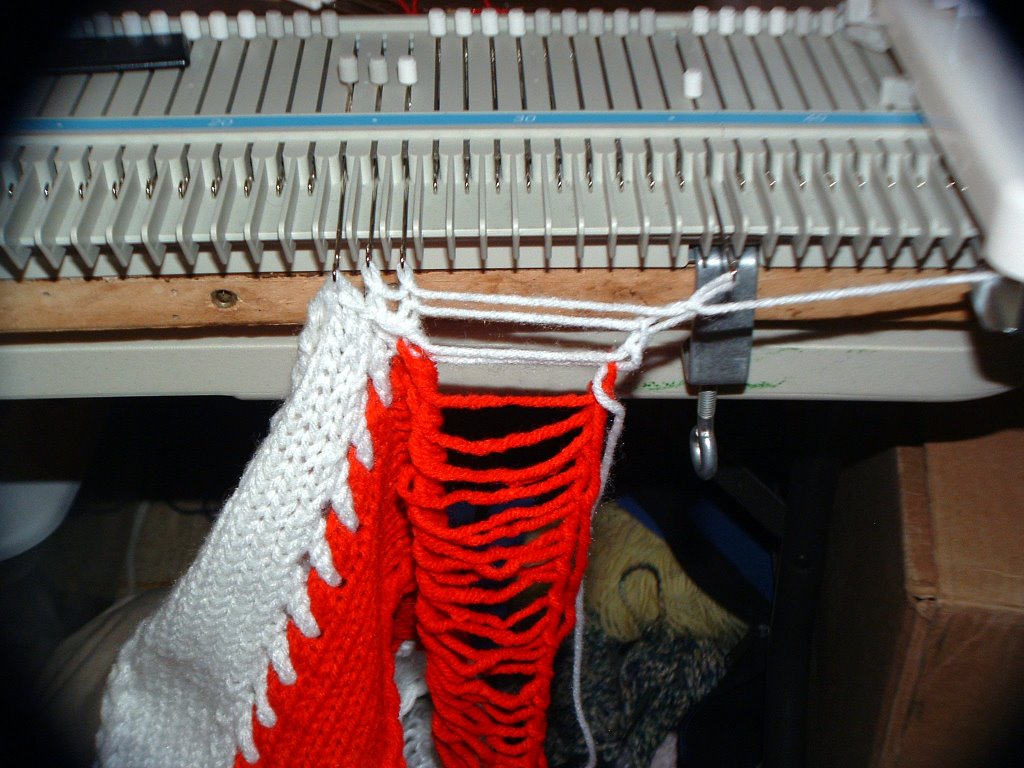
This is the first punch card fabric I made on the Toyota. There is one spot where I forgot to knit two straight rows between the cars, other than that it turned out really great.

Labels:

Saturday, August 19, 2006

Singer LK100 (9mm)


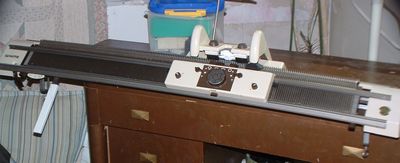
This is a durable plastic bed 9mm machine. It's very basic and the stitches are all hand manipulated. The stitches are nice and even, there are several tension settings and works well with the popular yarns on the market from worsted weight to bulky weight and some of the eyelash yarns. You could probably go down to sport weight, but it would depend on the type of fabric you want to knit.

Labels: ,