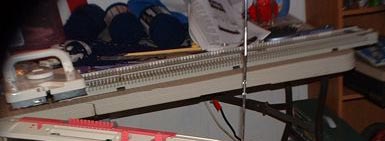
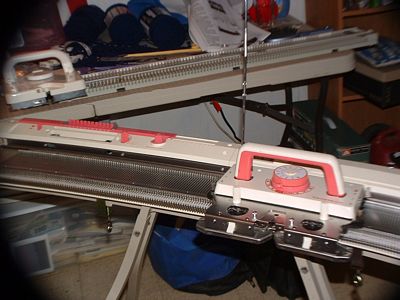
The Super Sized LK100. There are 162 needles on this baby :)


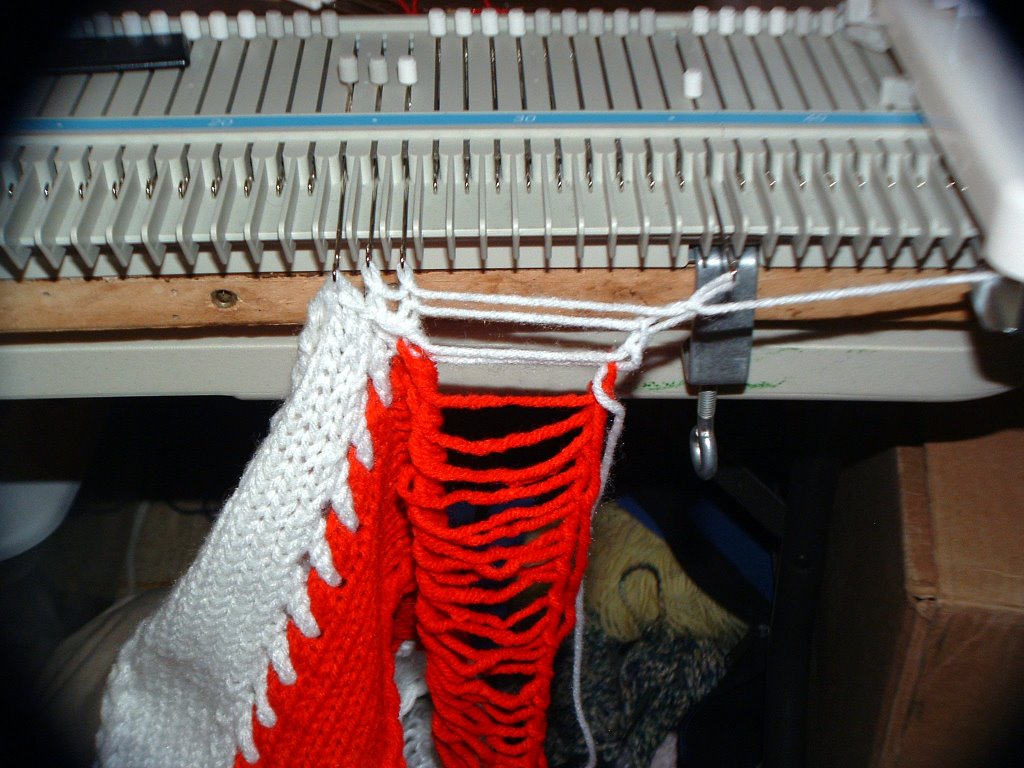
To accomplish this feat, acquire 2 LK100 9mm plastic bed knitting machines. Remove the end pieces of one of the needlebeds by unscrewing the connecting plate underneath the machine.
 with connecting plate
 without connecing plate
Remove the connector plate in the center of the other needlebed and insert the extending needlebed between the 2 pieces that still have their ends attached. Rescrew the connecting plates, and viola! Super Sized LK100. You can then put the 2 end pieces together for super mini machine with 18 needles, perfect for grandkids and scarves.
Extending the HK100 - not sure if that is possible because the bed is held together with one long plate of steel instead of the smaller joining plates we have on the LK machines, so their isn't anyway to insert the extra sections. Unless you have a plasma cutter and want to cut that steel plate, then you might be able to make it work :)

HK100 underside metal plate
Using the HK100 carriage on the LK needlebeds - doesn't work. It fits, but the rollers are too large to go through the channel in the carriage. It comes to a dead stop. Now if you remove the rollers, the HK100 carriage works great, except for the row counter. The tripper on the carriage doesn't hit the counter right so you have to take it off to use the HK on the LK. The HK carriage has metal parts which makes me more comfortable using it without the rollers too. My LK carriages are all plastic and I've decided that is why they need the rollers on the needles, to prevent the needle butts from eating up the carriage.
HK100 carriage

LK140 carriage
LK100 carriage
Using the LK140/150/100 carriages on the HK100 needlebed - works, but there are no rollers on the HK100 needle butts so we get the chew up the plastic thing with that option. The rollers do not fit on the HK100 needle butts, so if you really wanted an 8mm machine that you could use the LK140/150 carriage on (those Russel levers are really really cool) you would have to exchange all the needles with the LK100 needles and rollers. I'm not going to do this so I can't say if this is possible or not, there is the issue of the sponge bar, the HK100 has an actual bar, the LK's just use foam strips. I'm beginning to feel a bit like Dr. Veektore Frankenstein here LOL!!
 LK140 on HK100 Needlebed (not a good idea)
The LK100 and the LK140 carriages - both work beautifully on my extended LK100 needlebed. The only issue now is with the LK140 carriage not having it's own little yarn holder/springy/tensioning/thingy. The clip that holds the little bracket to the needlebed that holds the yarn tension mast doesn't have a matching slot on the LK100 needlebed. It's been suggested that if mounting the machine to a piece of wood, I can drill a hole and insert a mast from another machine to use. I believe that will work as long as I use a yarn mast for another bulky machine, like my Toyota KS610, so I can run the bulky yarn through it.
And...
I was missing some of the needle rollers so I tried alternating the needles, 1 with roller next to 1 without roller. That did not work out at all. My carriage was not happy, it was loud and noisy and I could tell it was miserable. Fortunately, the rollers on my LK140 also fit onto my LK100 needles so I am good to go there until my rollers arrive in the mail (the person I bought my second machine from has said she would send them to me).
End Result!
Now I believe I have a machine that it is wide enough to make a one panel afghan with the right yarn, and especially if I do a tuck stitch (gotta love those Russel levers LOL) which will make the fabric even wider. I also hope that 162 needles on a bulky 9mm machine will be plenty large enough to make super xxx plus sized fashions. I'll be sure to keep you all posted. I hope this answers the questions you all had on this matter, I know it answer's mine and I'm exhausted!
and since I never seem to know when to quit....
My next experiment with all this will be to test the gauge differences between the 2 different carriages when used on each others needlebeds. I.E. the LK140 carriage on the LK100 needlebed and visa-versa. I can't help but think it's got to be different.
Labels: Knitting Machine, LK100 LK150 LK140


 First, the stuff on the floor is because my new kitten has discovered my knitting room :) She loves it in here :) This is a view from the back looking down. You can see that the long lid holding hooky things slip through the holes after you insert the legs into the holders for them and the wing nuts hold them on. (it's probably easier to understand this if you have the stand in front of you). These dual function bolts act as the lid holder and the 2 bolts that hold the whole unit together.
 This view shows how the bolts go together and one of the L shaped levers that loosen and tighten up to allow the tilt of the bar. (There are 2, the second one just blended into the black color of the stand in the photo). If they are tight, keep working them until they comes loose. It's kind of startling when it first moves, but don't worry, it will hold itself together.


 This 5 shelf bookcase holds, well, books and patterns and the ceiling shelf sits on top. The tv is atop a plastic shelving unit and is next to the White 1602 cabinet. Oh, sitting under the window, between the bed platform and the bookcase is my cat's litter box. She loves this room too :)
 Even the back of the door is used for yarn storage. The shoe pockets hold sock yarn and the slack hanger has yarn that has been wound on the winder, slipped onto an empty toilet paper roll, label taped inside the roll and slid onto the rod. It reminds me of the ribbon stands in a gift wrap section of the department stores and I'm kind of proud of thinking to repurpose the hanger this way. Who wears slacks anymore anyway? LOL!